- We had a great meeting last week!
- Really, what was it about?
- Our vision for the local area. We gathered 25 people from the community and asked them questions about what they want our town to be like in the future.
- What did they say?
- Ummm….. let me check that word document we put together…
Or, you could have an illustrator there to create visual documentation that will make the key points stick!
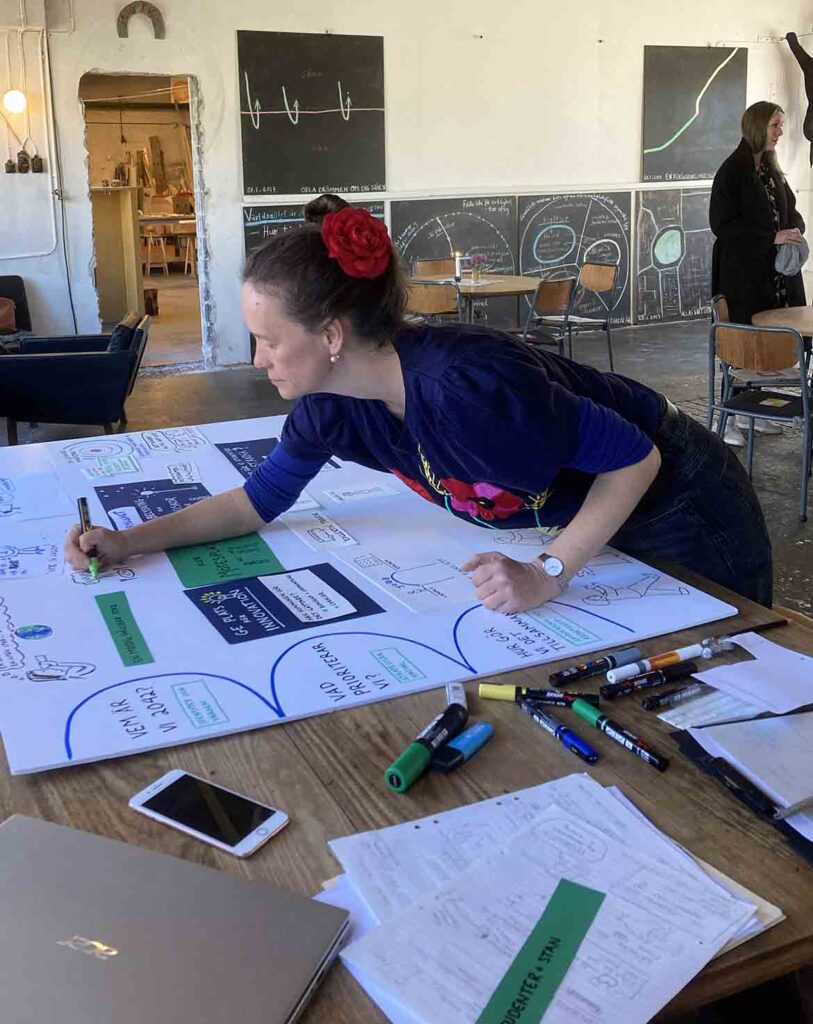
That’s what Växjö council did. They asked me to attend a series of dialogues with the local community and create large scale visual summaries.
This is the sort of work I love. Public spaces and community-building are two topics that have interested me for years, ever since I heard a talk by Jan Gehl when I was sixteen. He talked about the way that public spaces shape our behaviour and our interactions with each other. It goes without saying that this has a huuuuuge impact on our mental health and wellbeing.
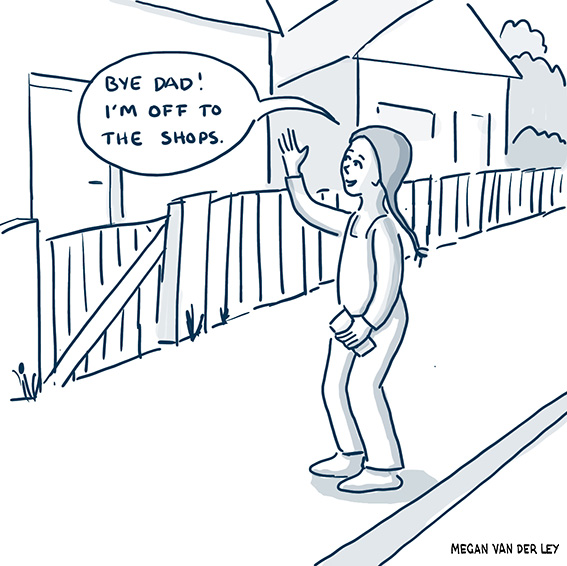
I particularly remember him saying that his definition of successful community was one in which you would let your five-year old walk to the shops by herself.
The Växjö talks are focused more on identity, values and partnerships than purely on town-planning, but it’s all related. They are working to defining their vision for Växjö as it moves towards it’s 700th anniversary of official city-dom.
Visual documentation is perfect for this sort of event.
- people see their ideas given a spot on the boards which makes them feel validated,
- the simplified, cartoonish drawings and diagrams let the visual learners amongst us (65%) take in the information, and
- short headings and bullet points provide clarification.
Instead of being text-heavy, which a lot of people find hard to absorb, visual documentation is colourful, varied and attractive (hopefully!). It makes people curious and delivers information even to those who just skim it.
These days I normally work digitally, with my drawing tablet connected to a screen or projector. This project is on large sheets of foamboard (light plastic covered with paper) which can be displayed in the library or other public spaces.
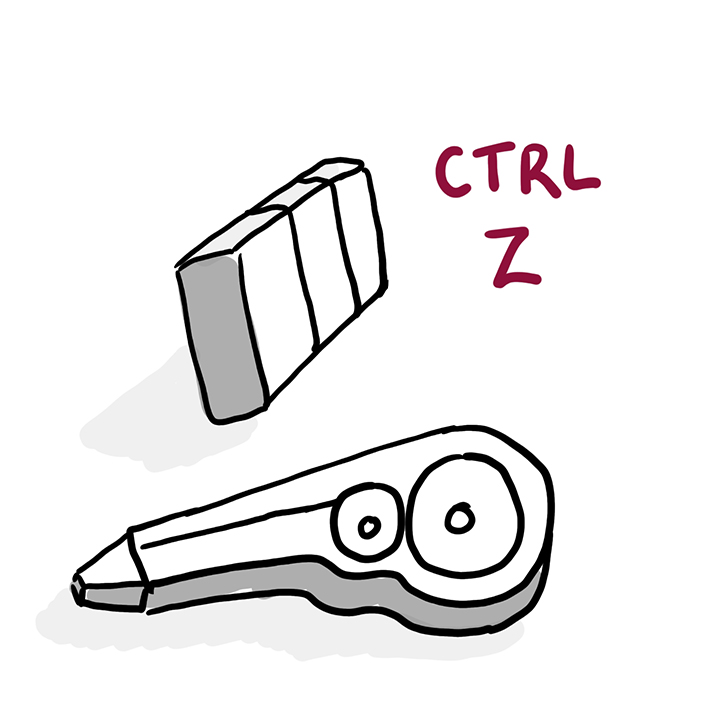
Graphic recording on paper requires a different sort of approach. There is no un-do button, for one thing. I can’t move things around or resize them as I do on a tablet. And it is hard to put in large areas of colour, without actually getting tubes of paint out.
I used coloured paper to help me get contrast and containers for information onto the boards. Bluetacking the paper onto the boards meant that I could shift them around as the conversations developed. Throwing them away and starting again was as close as I could get to CTRL Z.